ResMed AirMini Manual & Support Page
Take care of your
AirMini
and it'll take care of you.
Downloads
Support options
Setup Cleaning Maintenance Humidification
Setup
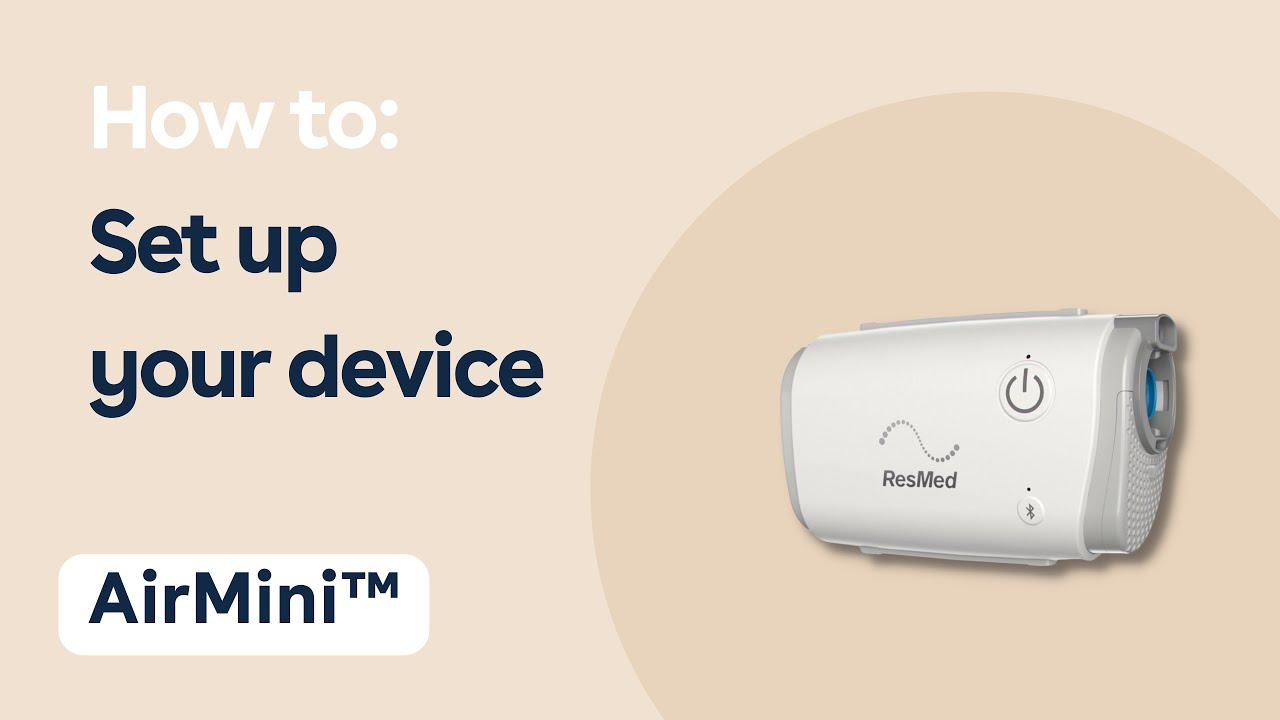
Setting up the machine
1. Plug the power supply unit into the
machine and then into the power outlet.
2. Connect the gray end of the
air tubing to the machine.
Adding optional waterless humidification (for AirFit N20 or AirFit P10 for
1. To use the optional HumidX™ or HumidX Plus, twist open
the connector.
2. Insert the HumidX or HumidX Plus inside with the
blue or gray side facing down towards the tube.
3. Close the connector by
twisting its ends back together until they lock into place.
Connecting the machine and smart device
1. Ensure you have the
latest version of the AirMini app installed on your smart device. If not,
download it from the App Store or Google Play depending on your device.
2.
Also ensure
3. Open the AirMini app and you’ll
4. Accept ResMed's Terms and Conditions and
Privacy Policy to continue.
5. When prompted by the AirMini app,
press the Bluetooth button on the AirMini machine.
6. When the light on
the machine flashes blue, Bluetooth
7. On the smart device, tap Connect.
8. Wait
until the machine appears in the accessory selection list.
9. Select the
machine from the list to connect.
Authenticating your device
1. The first time you pair the machine
with your smart device, you will need to authenticate it by entering the
four-digit key
2. When successfully connected, the
Bluetooth connection icon will appear in the top right corner of the screen.
Starting therapy on the Sleep screen
1. Enter the Sleep screen by pressing on Sleep on the Navigation tab.
2.
3. To start therapy, press Start on your Therapy
screen.
4. To stop therapy, press Stop from the same menu.
Adjusting comfort settings
1. Enter the Sleep screen and click on
Options in the Therapy screen.
2. Tap the setting you wish
to adjust.
3. Use the spinner or switches to select the required
setting.
4. Repeat this process for as many settings as needed.
The Dashboard
1. Enter your Dashboard screen by pressing on
Dashboard in the Navigation tab. If
2. You can also access the previous
days' information by clicking on the
3. Tap on any therapy session to view the
score and sleep data for that date.
Cleaning

Daily cleaning
For
Note: Do not wash or wet the HumidX™ or HumidX Plus. When not in use, store
in a clean and dry place.
1. Clean and check the
2. Wash the connector in warm water (~30°C or 86°F) and mild
liquid detergent.
3. Clean the connector using a soft bristle brush, with
particular attention paid to the vent holes on the inside.
4. Rinse well
under running water, then shake to remove excess water.
5. Air-dry out of
direct
For AirFit™ F20 users
1. Clean and check the AirFit F20 connector
by hand daily. Never wash it using a dishwasher or washing machine.
2.
Wash the connector in warm water (~30°C or 86°F) and mild liquid detergent.
3.
Clean the connector using a soft bristle brush, with particular attention paid
to the vent holes on the outside.
4. Rinse well under running water, then
shake to remove excess water.
5. Air-dry out of direct
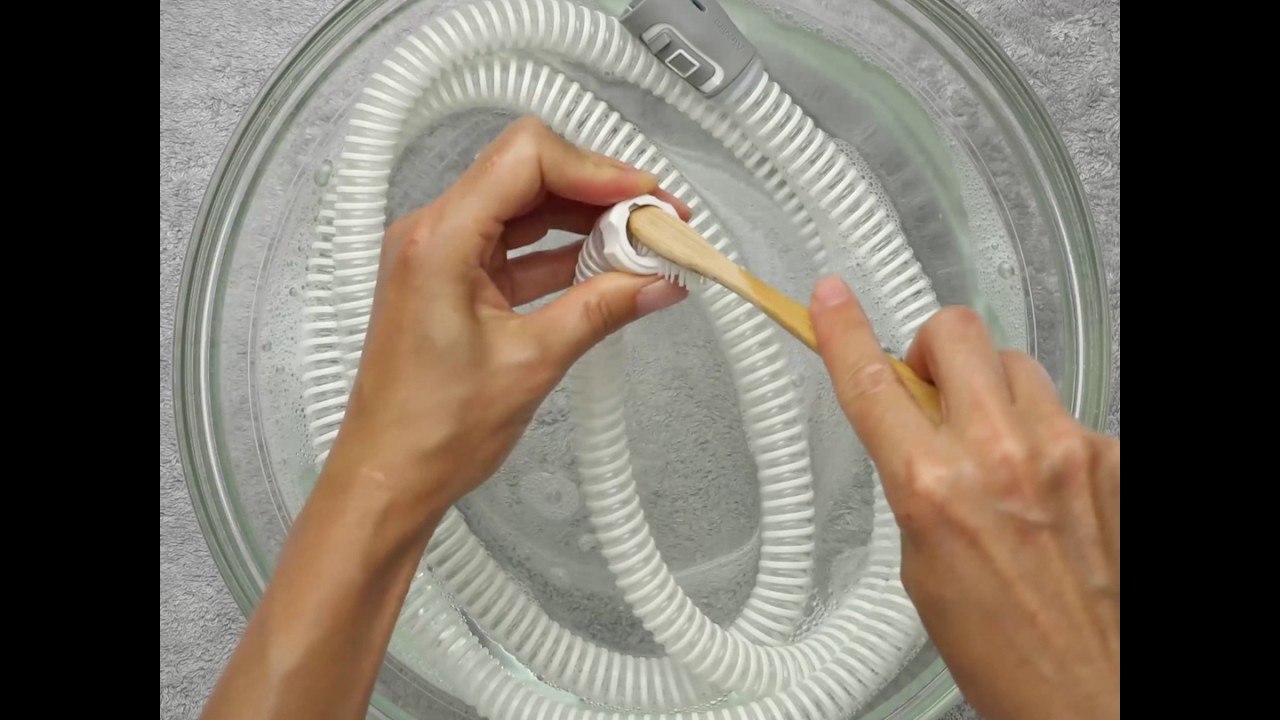
Weekly cleaning
AirMini tubing
1. Clean and check the AirMini tubing by hand
weekly. Never wash it in a dishwasher or washing machine.
2. Soak and
wash the tubing in warm water (~30°C or 86°F) and mild liquid detergent.
3.
Rinse well inside and out under running water.
4. Hang the tubing so that
each end can
5. Clean the AirMini by
wiping down each side of its exterior carefully with a dry cloth.
Maintenance
For AirFit™ F20 users
1. Check the AirFit F20 connector daily for
signs of damage or blockages caused by dirt and dust.
2. The connector
should
For AirFit N20 users
1. Check the AirFit N20 connector daily for
signs of damage or blockages caused by dirt and dust.
2. The connector
should
1. Check the
2. The tubing should
1. Check the
2. The air filter should
3. To change the air filter, slide the air filter cover off and
replace the old air filter with a new one.
4. Reattach the air filter
HumidX™ and HumidX Plus
1. Check your HumidX or HumidX Plus daily
for signs of damage or blockages caused by dirt and dust.
2. HumidX and HumidX Plus must
Humidification

1. To insert the optional HumidX™ or HumidX Plus, for AirFit™ N20 or AirFit
P10 for
2. Grip the HumidX or
HumidX Plus at the edges, with the blue and gray side facing down towards the
tube, and place it inside.
3. Close the connector by twisting its ends
back together until they lock into place.
4.
Filters